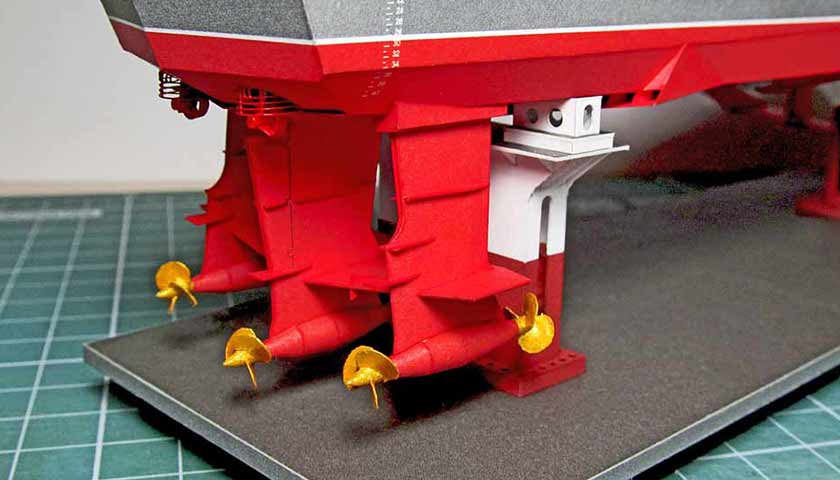
The turn came to put the fuselage with the center section on the chassis. And it turned out that the chassis is mounted only on a practically assembled engine. Therefore, the “serial production” of engines, and with them the chassis parts, began. And here I had to take a “creative break” to think about the technology.
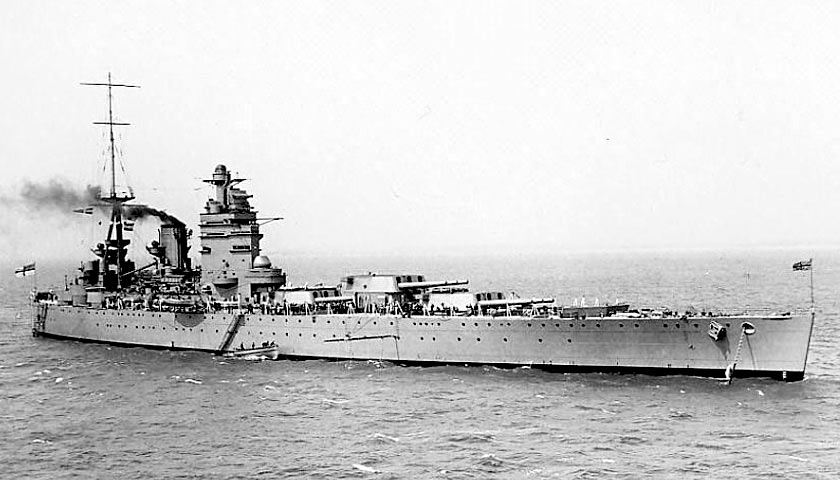
How to make a chassis? Once upon a time in the 7th or 8th grade, my school friend assembled the Li-2, and, despite the poverty of the then opportunities, he made the chassis, according to his modern story, retractable. I know that Andrew was a Jack of all trades. But now, I don’t remember his model very clearly, and I have remembered the landing gear only in the upper position.
In short, what to do? There is no possibility to set up a workshop quickly. From improvised material there are only office clips and a bit of copper wire, but it is very thin. There is no acid to solder steel, no solder either. I had to connect together the wire from the paper clips with the “copper” from the old TV ….
To get started, it was necessary to get a straightened wire from office clips. It’s simple – I first annealed the wire on a gas stove. I heated the wire to red and cooled it in the air. The wire has become soft. Then, on my “anvil” (see it a little later) with light blows of the hammer, so as not to hush up the cylindrical shape of the wire, I straightened out large bends on a paper clip unbent by hand.
Then I took a steel bar, I have such a heavy one, twenty centimetres long, and he rolled the wire along the anvil with it, pressing the bar hard on the wire. It’s getting out pretty well.
Then I searched for my drills less than a millimetre. I have found it. Then I extract drilling machine from a far corner from under the cabinet and I had to wipe the dust from it. Then I look for engine oil, the key to the drill chuck … Well, you understand what is a wish ….
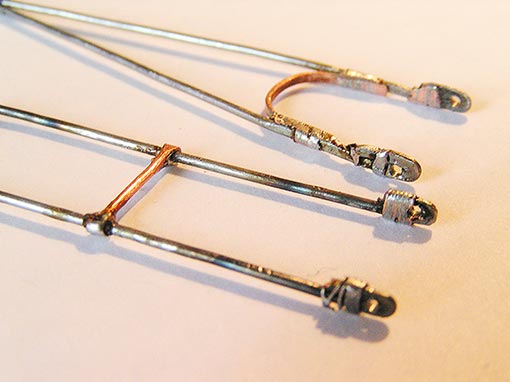
In short, the idea was this: to thin the tip of the annealed wire from a paper clip. To form a flat end of it, to drill a hole 0.75 mm in diameter, like the wire diameter. Then use a flat needle file to flat the surface. Then it will be possible to assemble any spatial structure from such elements.
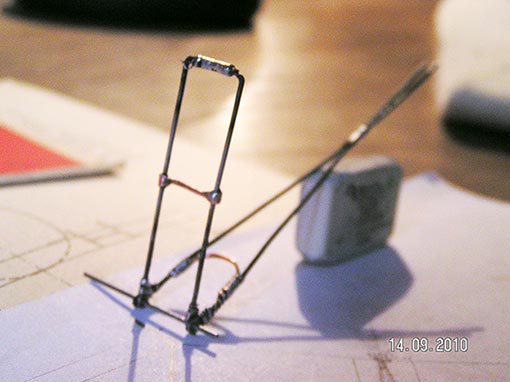
The width of the flattened wire was not enough. I had to bend the tip of the wire at 180 degrees, then flatten, drill, apply a bandage and then solder. This is for the main landing gear. For the tail – it turned out without bends and bandages.
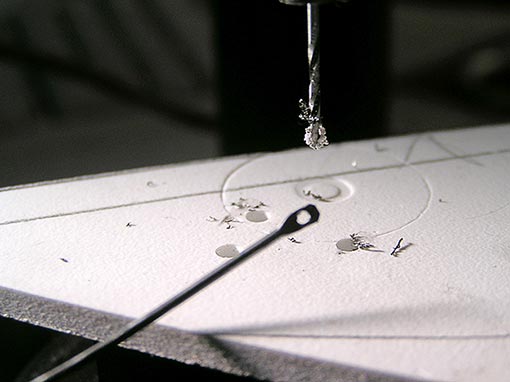
And here is the first drilling, I was very afraid of breaking the drill (it was the only one drill such a suitable diameter):
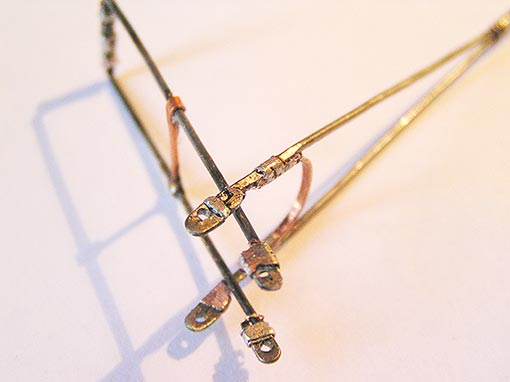
But everything worked out, I “caught” the feeling during drilling and for now — pah, pah! Around the same, the issue of joining steel parts was resolved. I drove them to each other and applied a bandage of copper wire, previously tinned with the usual solder for copper using a common soldering iron.
It turned out clumsily, but I did not despair, since all this disgrace can be, firstly, sanded with a flat needle file, and secondly, covered up with paper and paint on top. Where necessary, you can putty from the PVA glue.
To be continued…