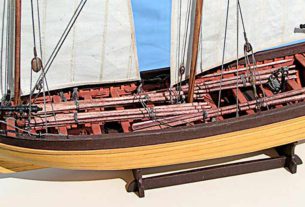
During the construction of the French 18th-century longboat, after the assembly of the hull was completed, the question arose about its protection from dust and dirt. I rejected varnishing because it was too complicated. It is unclear what varnish is suitable for this. Woodworkers cover their models with oils. The case looks very beautiful, but it is wood … For paper, this option is not suitable, since liquid varnish impregnates layers of paper unevenly and spots appear. I needed a “hard varnish”.
I turned my attention to the “wax”, or rather to the ordinary candles, which are sometimes still used in houses. In short, an ordinary white household candle was taken and tested. Upon closer inspection, the candle material turned out to be transparent and colorless. And this is what was needed.
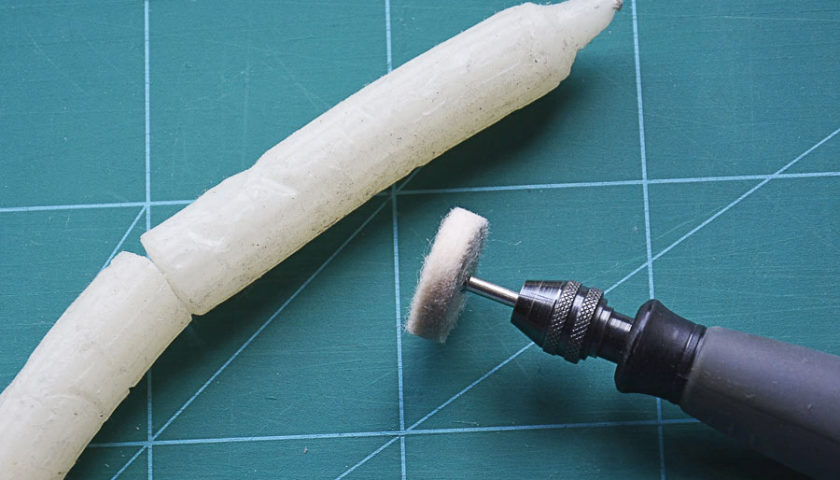
The easiest way to apply it on paper was with an engraving machine, at a speed slightly lower than average. I can’t say more precisely. The meaning is this: the material of the candle should be inflicted on paper as thin as possible and melt slowly. It should fill the surface layers like an ointment, without turning into a liquid.
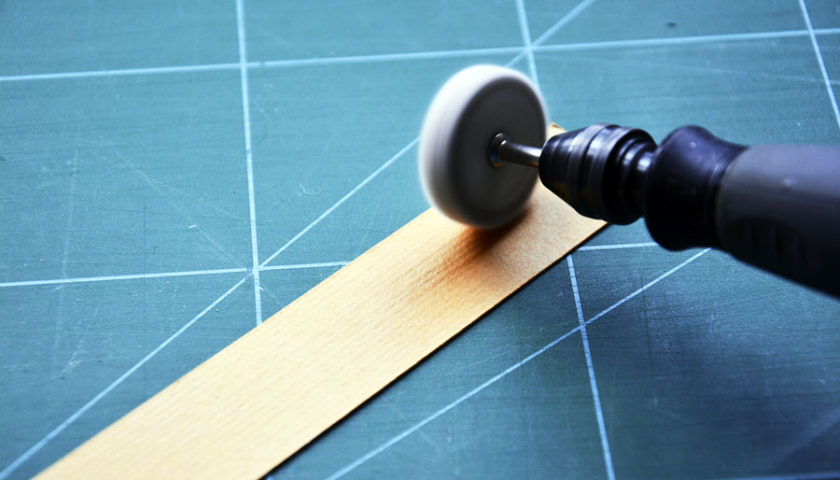
If the rotations of the drill are too high or you press the polishing wheel too hard, the liquid phase of the “wax” will appear and, therefore, a “wet spot”. The spot will be darker than the rest of the coating, and most worse, it will greatly change the original color of your model.
Thus, to summarize:
1. Start with small revolutions of the drill and with light pressure on the polishing wheel. By the way, the latter is best made from “felt boots” (felted cloth) or similar materials. The circle should not change the color of the wax, so it’s best to use white material for its manufacture.
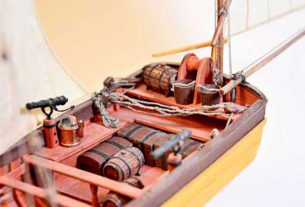
2. “Wax” must be applied to the circle with VERY SMALL portions. You should by a rotating circle touch the candles for a half a second and then with sweeping movements (on the scale of the model) we apply “wax” to the surface. When applying the coating to the hull of the longboat, it soon became clear that it is best to apply the “wax” element by element. I did just that, applying it to each board in turn.
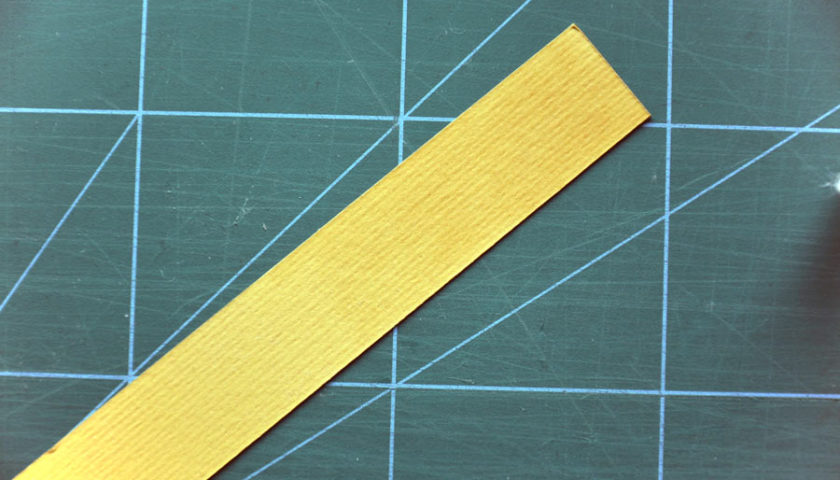
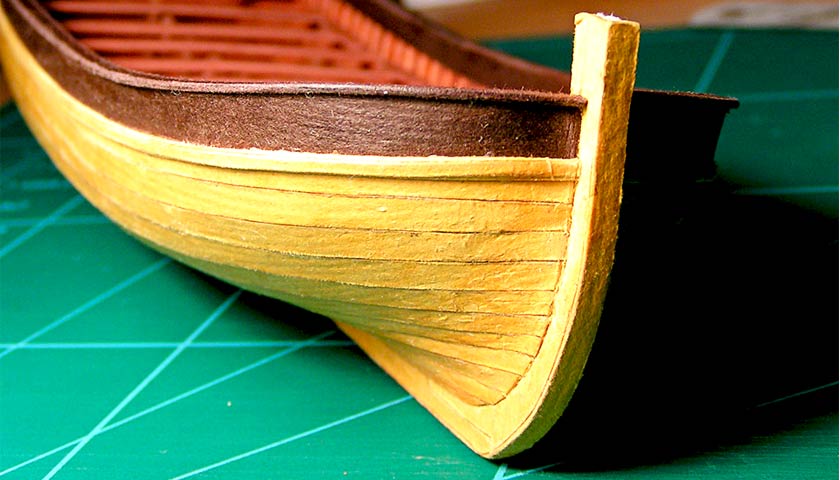
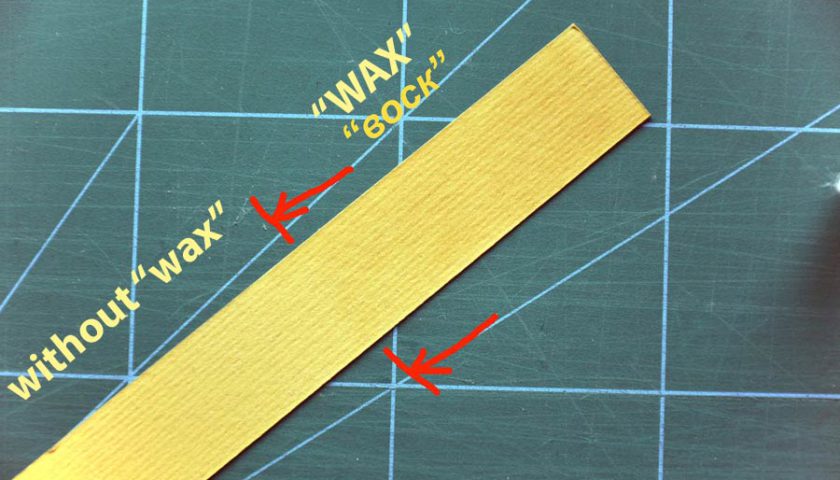
Make sure that no dark “wet” spots remain on the surface. The surface after applying the “wax” slightly darkens and acquires a matte sheen. If in the previous photo you did not notice the difference between the covered and not covered areas, then here I gave the border between them. (There is a difference in the original photo, but due to various monitor color settings, it may be indistinguishable).
If over time this gloss disappears, then you can do the grinding process again. But already without applying an additional layer of “wax”. Just grind the existing dry layer for recovery. All this is very similar to the procedure for caring for a parquet floor made of natural wood. How they were doing before, until they began to spoil the parquet with all kinds of varnishes and other filthy chemistry.
3. It is necessary to begin the process of “waxing” with samples on a similar piece of paper in order to feel the process and feel sense. When you “grasp” the essence of the matter and gain confidence, then move on to the model.
As always, this did not end there. Then went the application of a color coating on the model …. Etc…. But more on that another time.
That’s all for this matter. Actually, all are simple. I wish you success!