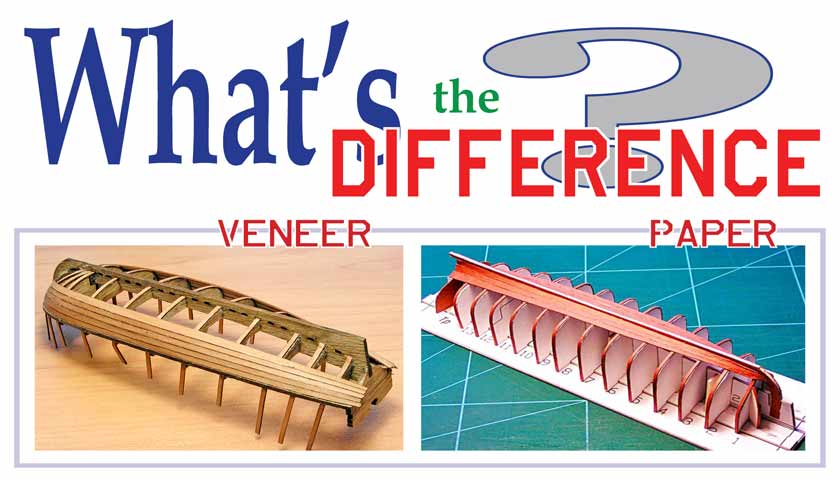
With the coming of laser engravers on the market, an interesting technology for creating veneer models arose.
In general, a laser is a good thing, but when all the details of a model are cut out with its help, the question arises: who to reward, the modelist or the machine?
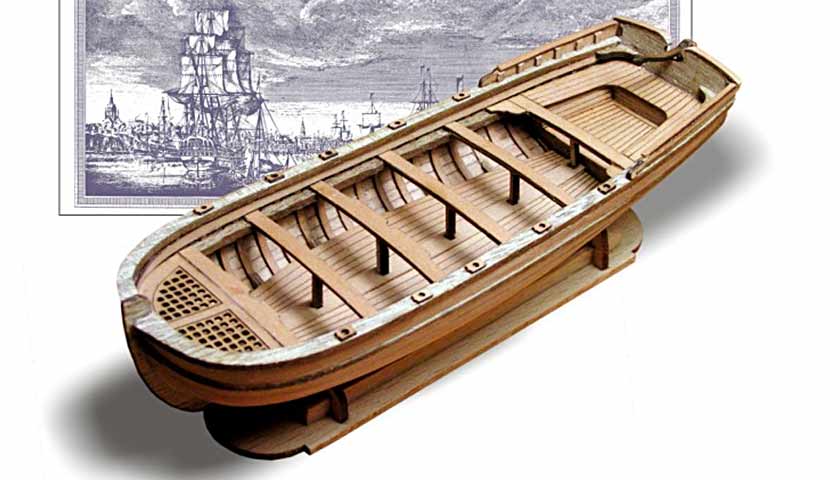
I became interested in laser technology and as a result, I had the opportunity to try myself in this “genre”. Difficulty with the development of the model did not arise, since a simple boat similar to the Soviet Navy ship boat Yal-6 was taken as a prototype.
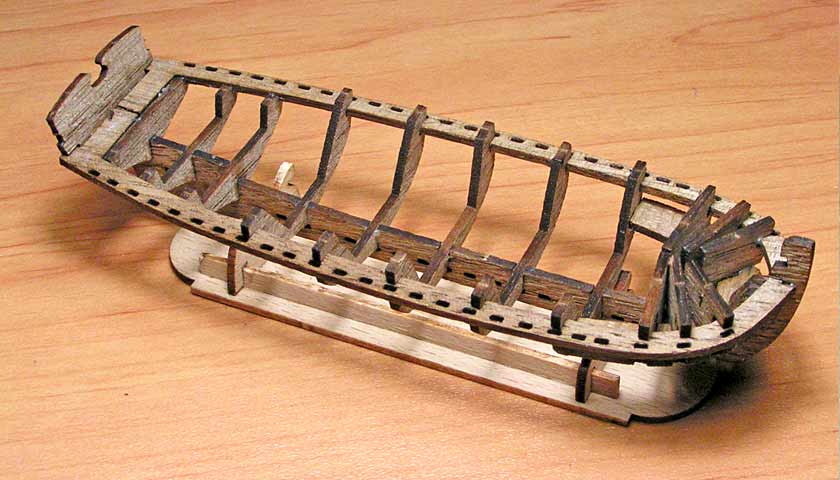
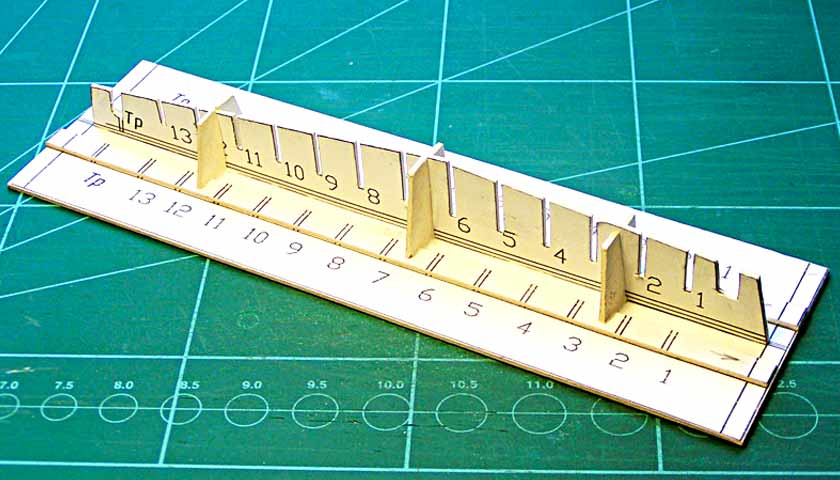
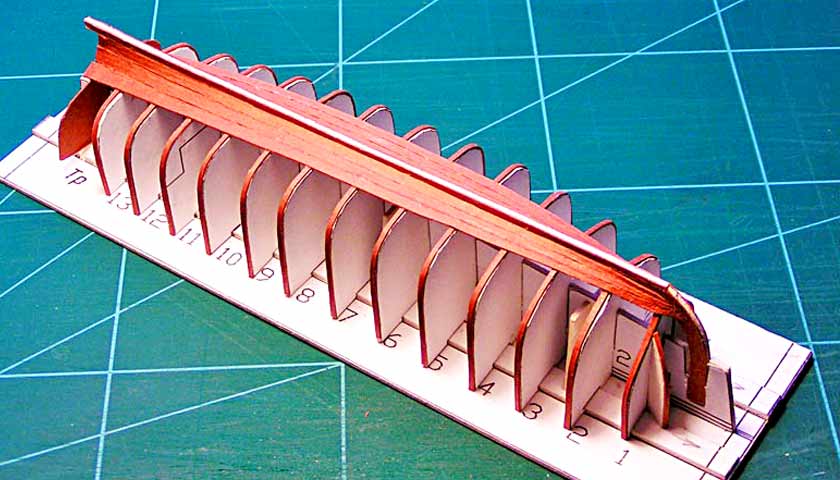
Model assembly is carried out on patterns. This technology is used to build real boats. On the keel frame transverse templates are installed. They set the shape of the frames. Three pairs of swivel patterns are installed in the bow. Because the shape of the case of the nose is more complicated than in other places. A transom is installed at the stern.
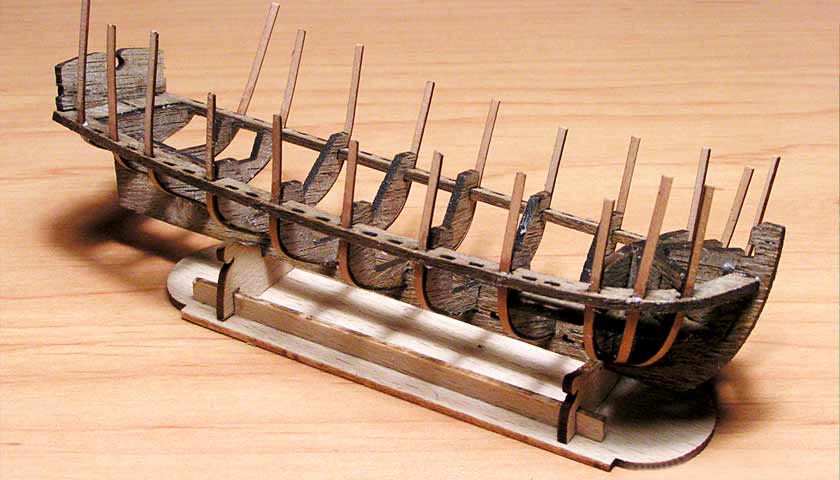
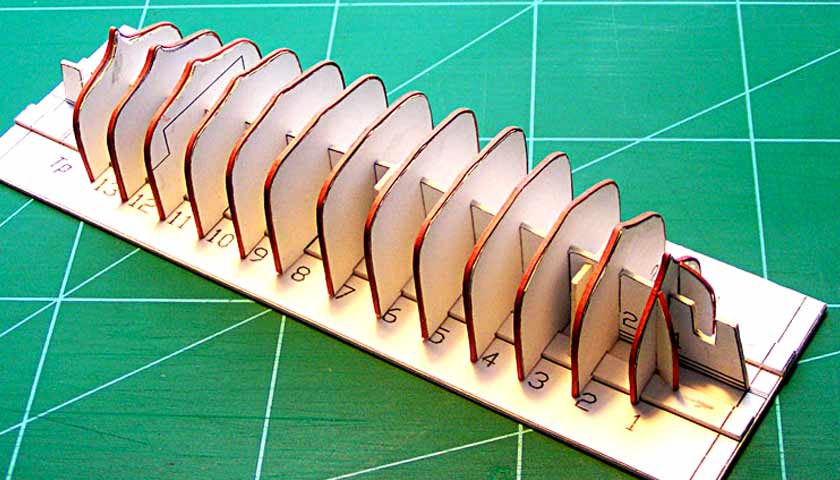
Then the longitudinal beams – riser are installed. The upper ends of the frames are attached to them. The frames are glued to the patterns only at the ends. The lower end glues to the keel, and the upper end to the upper part of the pattern.
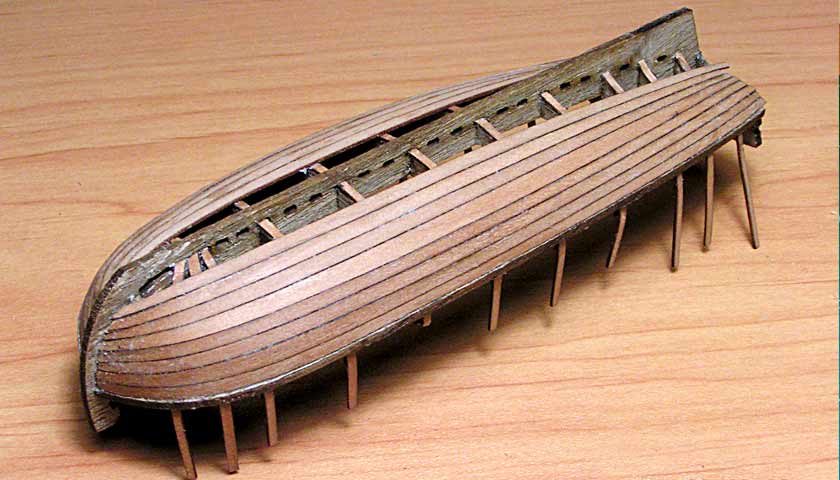
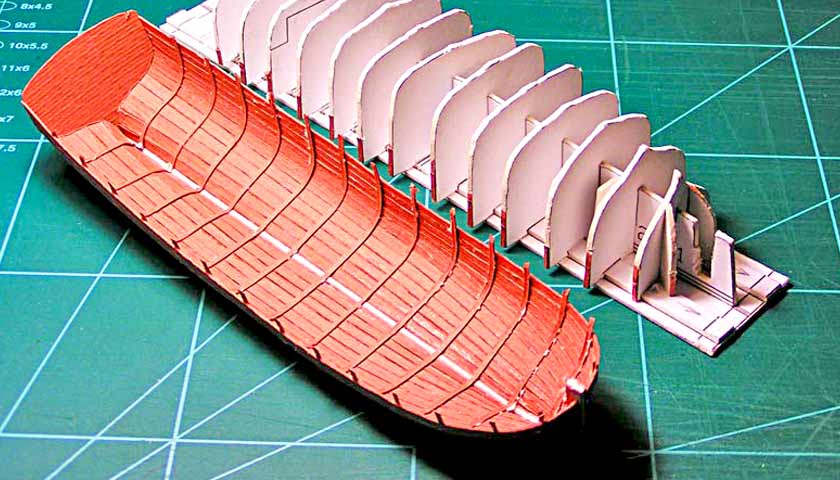
Then, “planks” of hull skin are glued to the frames. True, I broke the order, I don’t even know why. It was necessary to start the installation from the keel edge. When installing each skin plank, it is necessary to remove the longitudinal bevel from it. This is convenient to do with a sharp blade.

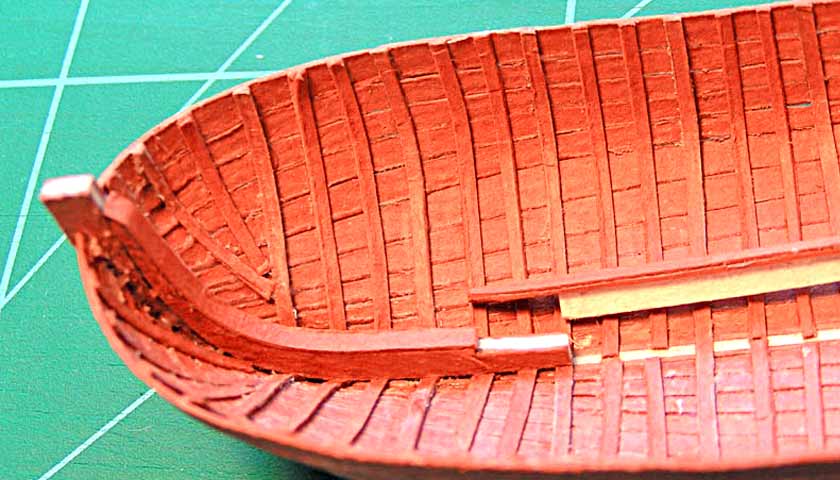
Excess plank material is simply scraped off. Here you need to make sure that the angle of the bevel is small. Then inside the boat is not there will be gaps between the planks.
The uppermost plank of skin is installed on the riser. When glue dries, you need to remove its excess. This is convenient to do with the help of an engraved drill armed with a small circle of sandpaper with large grain. Glue is easily removed.
The templates have done their job and are no longer needed. Swivel templates are removed as a whole. The upper parts of ordinary templates are removed. Pay attention that the lower parts of the templates remain in place and are used as floors. They sit on bottom boards. Next step is clipping the extra ends of the frames and installation of thwarts.
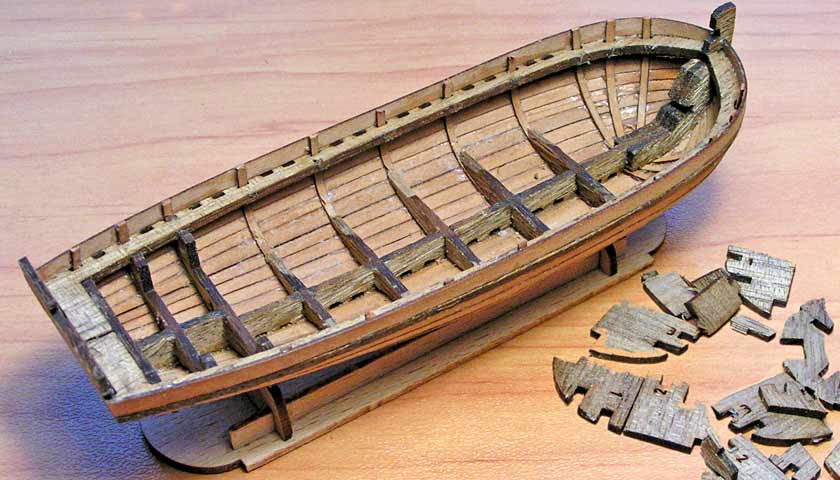
Thwarts of rowers are installed along with their pillars. Next you need to install the bow thwart and thwart on the sides in the aft cockpit. From above on the edge of the boards is a gunwale with bases for oar locks. The rudder is glued to the transom.
At the very end of construction, it is necessary to carefully sand the entire surface of the boat outside and inside. All glue remains must be removed. A well-prepared surface can be covered with linseed oil to give the model a beautiful appearance and to protect against dust.
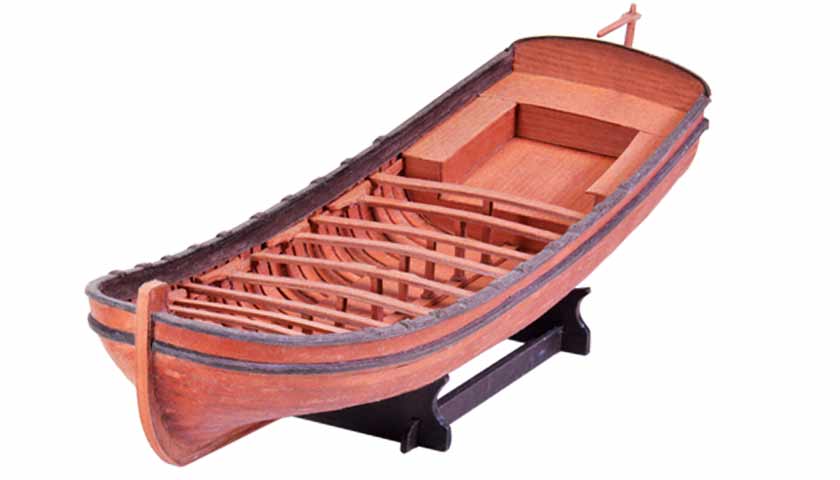
At first glance, the boat looks quite good. However, a close examination reveals that on such a small scale it is difficult to make the dimensions of a real boat. Details of the boat look rough. Therefore, there is a desire to make a larger model with an accurate and proportional detailing.
But, this desire always arises for the modeler when he finishes the model. Because he is a real modeler!