How to make a model of an object, in general terms, is clear to everyone. Here you need to break the modeled object into parts and create them using primitives that can be pulled, scaled, cut, and so on. As a result of these efforts, we will get a well-developed model. Let’s say an airplane.
But then a very crucial moment comes. We need to paint our model, our plane, for example. Give it the final resemblance to the copied object. And here you can spoil the whole thing with a bad texture. That is, by bad pictures that we overlay in Blender on the model to make it realistic.
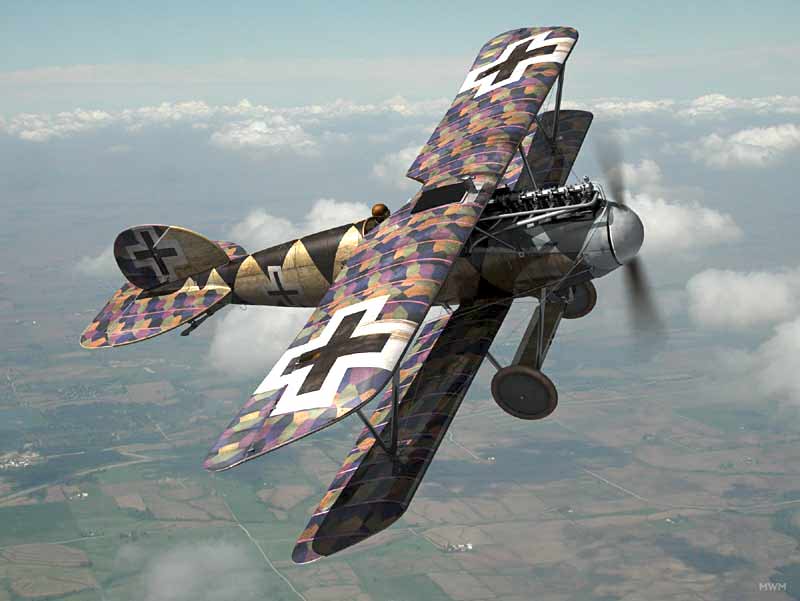
I will say right away that I am a fan of realism and even photorealism. Artistic or fantasy objects are good, but I am not yet “mature enough” for them. Therefore, in the future, we will talk here about models of technical objects from different eras. My favorite is the period between the world wars, when engineering, having achieved its first successes with the help of the rapidly developing science at that time, began to take the first meaningful steps in the process of solving the problems faced by the people of that time. It is a pity that these were mainly tasks of exterminating people, but that is another question.
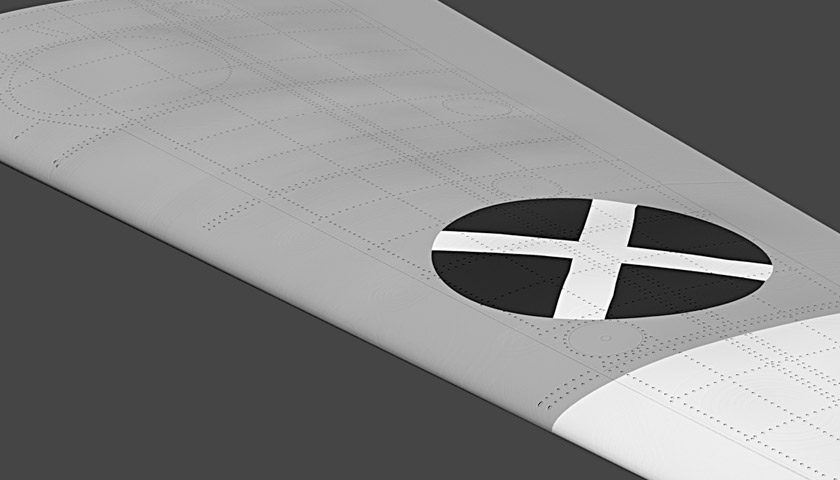
So, we will consider texturing of models to give them a photorealistic look, like the real prototypes that we are modeling. Let us stop, I repeat, on the plane. And not even on the whole plane, but on its wing for simplicity of presentation.
What things make a photorealistic picture of? The key word for understanding the whole texturing mechanism here is a photo … – PHOTO … [from the Greek. phōs (phōtos) light]. That is, everything depends on the light, its rays, which, reflecting from the object, paint it in our eyes. What the light will be, so will the picture. Weak, evening, dim, dark or bright, sunny, brilliant – what the light will be, this will be our object of modeling.
And here we are faced with the first problem of this case. In real life, an illuminated object constantly changes its appearance, which we perceive with our eyes. Changing the illumination of an object causes it to stop being visible altogether. This is when the rays of light, reflecting from an object, fall directly into our eyes. A glare appears. A white, very bright spot covering all or part of the object.
Or vice versa, when the fraction of the rays reflected from the object falling into our field of vision is negligible. Then the object becomes almost black and indistinguishable in detail. It is in this interval that the visual picture of the object, which we can see, lies. Thus, the appearance of our object is constantly changing. But, this is still half the trouble.
Even if we choose the most beautiful view of the model in our opinion in a particular lighting and fix the relative position of the object and the light falling on it, then the object itself will still be illuminated unevenly. Since the object has volume, there will be glare, brightly lit places, a light transition from bright lighting to shadows, and full shadow on it.
So what’s wrong with that, you ask? There is nothing wrong with that. This variety gives charm to objects, making them three-dimensional, and even emphasizing certain properties of the light with the play of light. But, we want to make a model of an object, and make it out of paper. And this is where the difficulties begin.
We have two ways to make our model look nice like a prototype. The first is to repeat as much as possible the detailing of the model and apply materials that are close in reflective properties to the prototype. Then we will get, albeit a simplified, but still a model of a real object, which, like the prototype, will play with light at its various positions relative to it.
But using paper and paper technology, such a result cannot be achieved. Unless it is a question of not painting the paper model with paints on top, as on the prototype, and applying coatings corresponding to the prototype. But, here’s the question: will it be a paper model?
I think no. It will be very difficult, expensive (compared to paper), although very effective. Many modelers do just that, choosing a wide variety of materials. And they really achieve a miracle – amazing results. But, again, this is not a paper model that attracts thousands of modelers with its simplicity and manufacturability.
The second way, if we decided to make a model out of paper and using paper technology, is to capture the prototype in some one fixed type of lighting and transfer this image to our paper model. This is where true creativity begins. The paper modeler must recognize the essence of his prototype, penetrate, let me say as it is, into his “soul” and understand what kind of light should be chosen in order to convey a certain “mood” of his prototype.
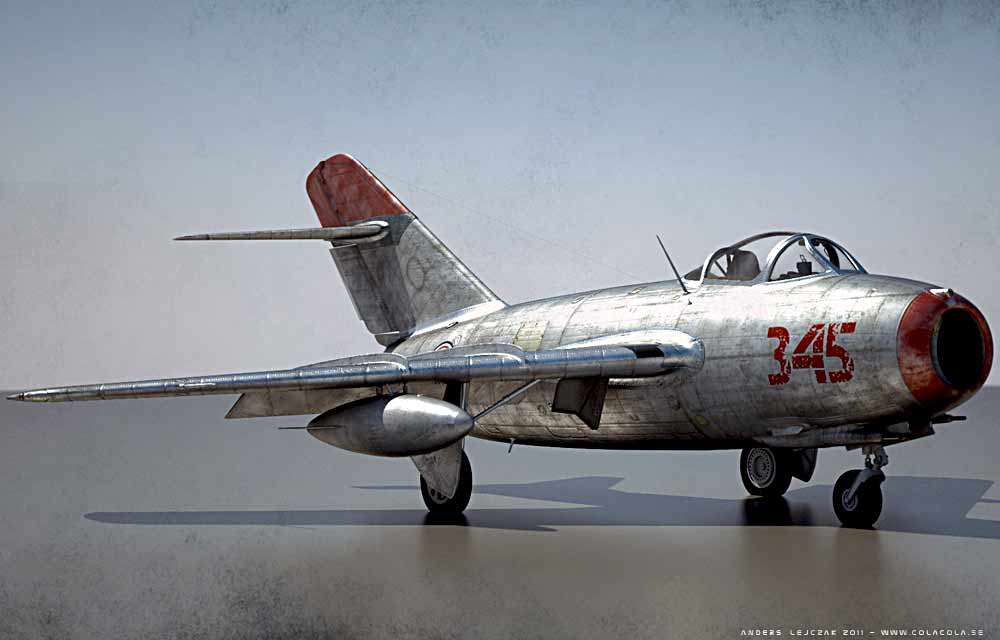
For example, if this is a nimble and agile MiG-15, then it should be made brightly lit, emphasizing its swift silhouette and formidable fighting spirit. That is, we must try to transfer bright light and glare in the appropriate places to the surface of the model. Now this can be done quite well with modern printing. There really is a nuance here. The model, when you make it and put it on the shelf, it would be nice that it stands “right” in relation to the light in your room. This can be taken into account in advance. Then the model on the shelf will look realistic: the light will fall “from that” side.
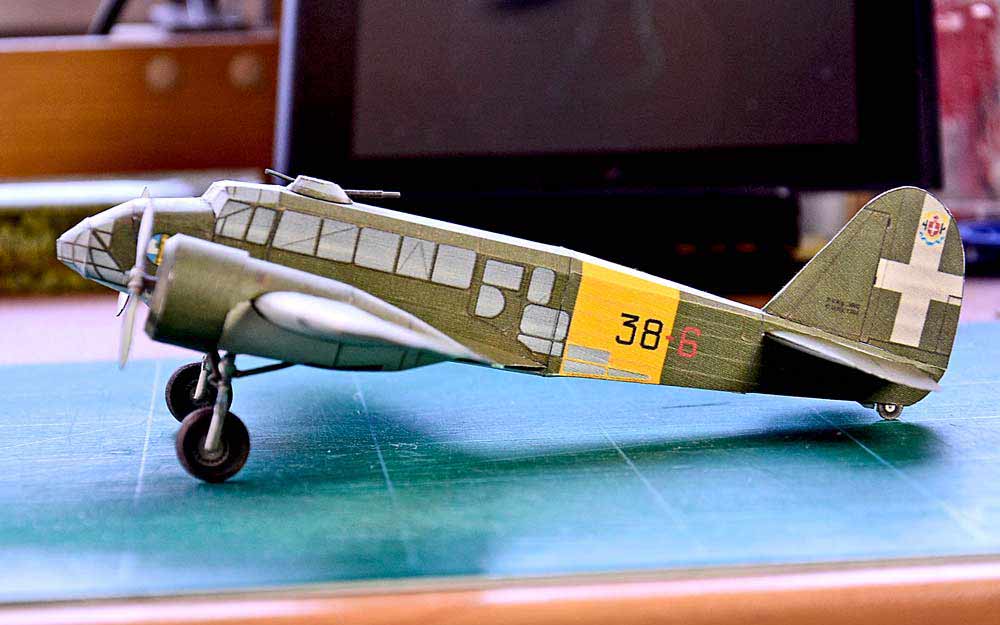
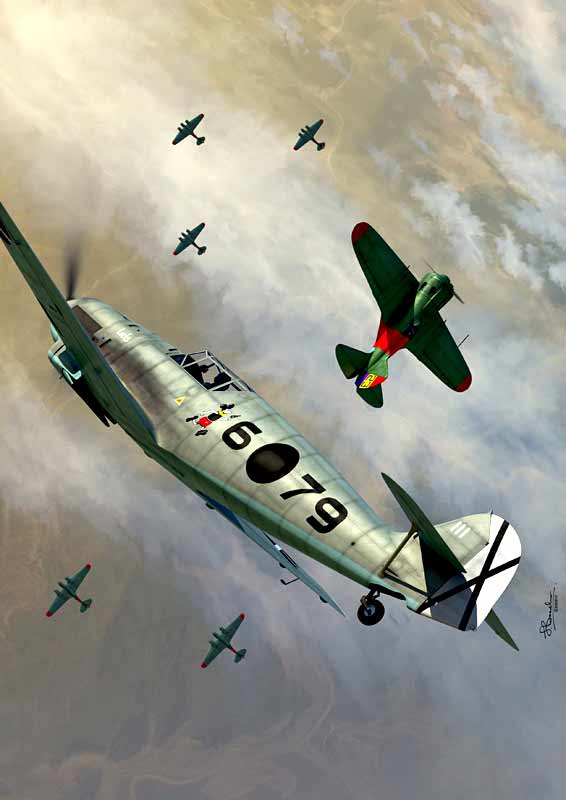
Conversely, if you make a huge gloomy bomber that bombarded entire cities and even worked at night under the light of searchlights and flames of fires, then this can be done with appropriate lighting. This will give the model a realistic look and emphasize the character of the model. And so on. Some paper model publishers and modelers have already started doing this. But, in my opinion, this is still not enough.
What do we really have? Monochromatic, shade-less painting, thick lines of “jointing” panels, rivets the size of a fist, if you count their size to scale. This is not very clear, but most likely it is a tribute to tradition. This was done in “Maly” at the dawn of modern paper modeling. And this vivid image, naturally, remained with many for a long time.

But, new times have come. We have modern publishing systems, we have modern paper in thousands of options, colors and other parameters. All this must be used creatively to get a high quality photorealistic model.
In connection with the above considerations, it is best to start a texturing model with a well thought-out approach to how you want the model to look with the texture. What colors, stains, damages, shadows, scratches, faded and frayed areas will be on the model and where exactly. All this should be connected by a single logic and subordinated to the main goal: to make a realistic copy-model out of paper.
Well, in conclusion of today’s conversation about texturing, I will note. The texturing will use a variety of techniques from the arsenal of the Blender 2.79 program. The transition to a newer version is associated with the replacement of a computer with a more powerful one. This is on the one hand.
On the other hand, the arsenal of tools in version 2.79 is more than enough for our purposes. Therefore, for the sake of texturing paper models alone, buying a new comp is impractical. But if we talk about modeling objects that are more complex than a paper model, then yes. We must move on and as soon as possible. It opened up breathtaking horizons full of fabulous possibilities.
But, we will continue to talk about this next time.
Used illustrations from sites: digitalaviationart.com, colacola.se, the-vaw.com, mwmiller.theaerodrome.com, papermodelers.com, only-paper.ru